Bring up a VCK190
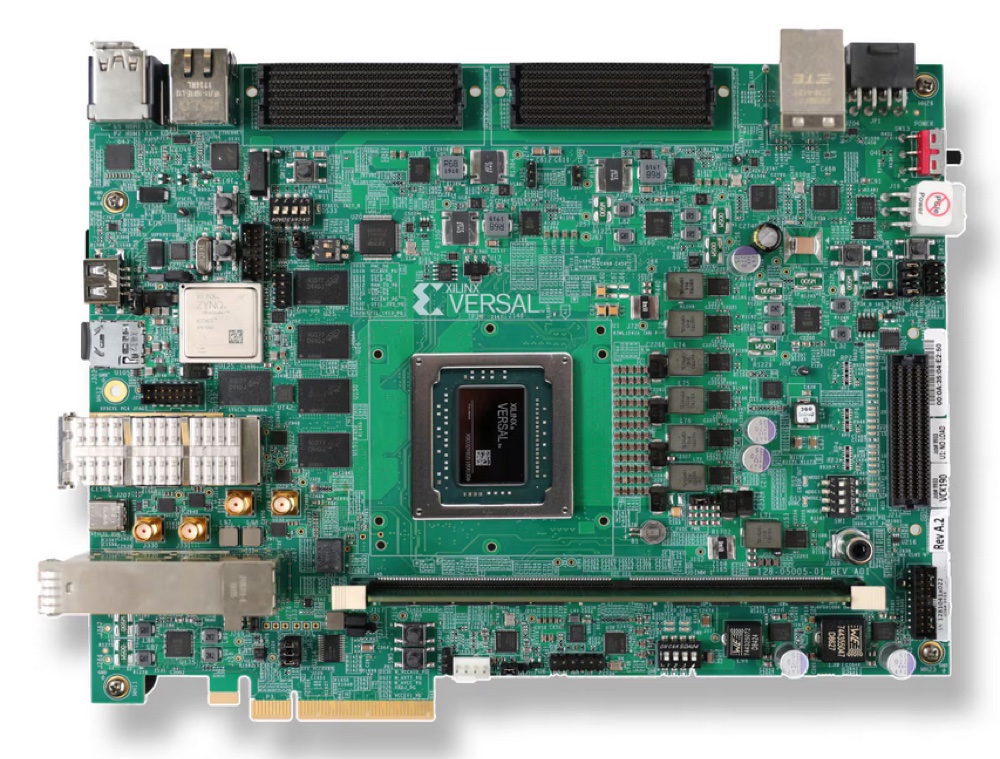
The Xilinx Versal VCK190 is intended as a daemon install in the target matrix, with PetaLinux keeping the boot path. PetaLinux is Xilinx’s board support package and build system for Versal boards. The image needs KVM and the Deep Learning Processing Unit (DPU) turned on, plus a working Linux console.
Before you start, get the board’s network settings and management credentials from its operator.
Hardware topology
The VCK190 has two distinct subsystems on a single board:
- DUT (device under test): the subsystem that runs the Versal chip. This is where SpaceOS and its workloads run.
- System controller: a separate processor with its own memory that manages board-level functions such as power and clocking.
Boards usually expose a web management interface, such as Xilinx BEAM or a vendor equivalent. Use it to read board state and to reset the DUT.
Two bench facts that the management interface does not give you:
- The SD card is wired to either the DUT or the build host, never both. A
multiplexer switches it. On our bench that is a
usbsdmuxcommand, and the DUT must be halted before you throw it. - After you reflash the SD card, only a physical power cycle reboots the
board reliably. The management interface’s reset lands the DUT at a
Versal >prompt often enough that a switched power outlet is the method we use, and it sometimes takes two cycles.
Step 1: Create the PetaLinux project
Install PetaLinux 2022.2 on the build host, and adjust the paths below for your install.
Source the PetaLinux environment in every fresh shell:
source <petalinux-install-dir>/settings.shDownload the matching VCK190 board support package (BSP) from Xilinx and create a project:
petalinux-create -t project -s <path-to-bsp>.bsp -n vck190-spaceoscd vck190-spaceosStep 2: Configure the firmware
petalinux-configIn the menu:
- Select Image Packaging Configuration → Root file system type and
choose
EXT4 (SD/eMMC/SATA/USB). - Select DTG Settings → Kernel Bootargs → Add extra boot args and
append
cma=900M.
cma sizes the contiguous memory area, the block of physically contiguous
memory the kernel sets aside at boot for devices that cannot scatter their
transfers. 900 MB covers typical SpaceOS unikernel and DPU workloads. Raise it
if your service set needs more.
Step 3: Configure the Linux kernel
petalinux-config -c kernelEnable Virtualization first, which is what makes the KVM entry appear, then:
- Virtualization → Kernel-based Virtual Machine (KVM) support.
- Device Drivers → Misc devices → Xilinx Deep learning Processing Unit (DPU) Driver.
- Device Drivers → Misc devices → Xilinx AI Engine, when using AI Engine workloads. It sits in the same submenu as the DPU driver.
KVM is what a Solo5 hvt substrate would need. The
DPU driver is what Vitis AI on Versal needs.
Step 4: Configure the root filesystem
petalinux-config -c rootfsEnable the packages your service set needs. A typical VCK190 root filesystem includes package management, networking tools, OCI container support, OpenCV, Python modules, Vitis acceleration packages, and the standard PetaLinux utilities.
Step 5: Build the image
petalinux-buildpetalinux-package --boot --plm --psmfw --u-boot --dtb --forcepetalinux-package --wicThe output is a petalinux-sdimage.wic file under images/linux/.
Boot the generated image in QEMU before you flash hardware:
petalinux-boot --qemu --kernelTo exit the QEMU console, press Ctrl+A, then X.
Step 6: Flash and boot
Halt the DUT, move the SD card to the build host, and flash the image:
sudo dd if=images/linux/petalinux-sdimage.wic \ of=/dev/<sd-card-device> conv=fsync status=progress bs=4MReconnect the SD card to the DUT and power-cycle the board by hand, so the bootloader picks up the new image.
Step 7: Verify the substrate
Once Linux is up, check that KVM and the acceleration devices are present. The substrate that runs each service depends on them:
ls /dev/kvmls /dev/xdpu*cat /proc/device-tree/compatibleWith KVM and the acceleration devices present, the board has what a SpaceOS daemon install would require.
This is where the page stops today. There is no VCK190 target profile to name,
so there is no space target connect command to run against this board and no
SpaceOS workload to place on it. Prove the workload on the
Raspberry Pi CM5, which is a supported target, and
follow the support matrix for the board’s status.